House Map route
Follow the HUD, not another player's timer.
At every stage, use the area name, Wave, percentage, and live objective to decide what comes next.
Check the run before moving
- Do this
- For every area, read the area name, Wave value, percentage, and current objective; when the bag is full, sell at the dumpster and return to the same named area before judging progress.
- You should see
- The HUD identifies Frontyard and shows the objective that belongs to this account's current state.
- If it fails
- If the map, difficulty, or party setup differs, return to mode selection. This page does not cover that run.
Complete live opening objectives
- Do this
- Use the current Journal rather than copying another account: complete any visible collect, sell, Journal, Hand-upgrade, and Open the garage objectives, then follow the live area and objective state into Garage.
- You should see
- The visible checklist advances and the route opens into Garage.
- If it fails
- If an objective is already checked, skip it. Do not repeat another player's purchases or desktop-only controls.
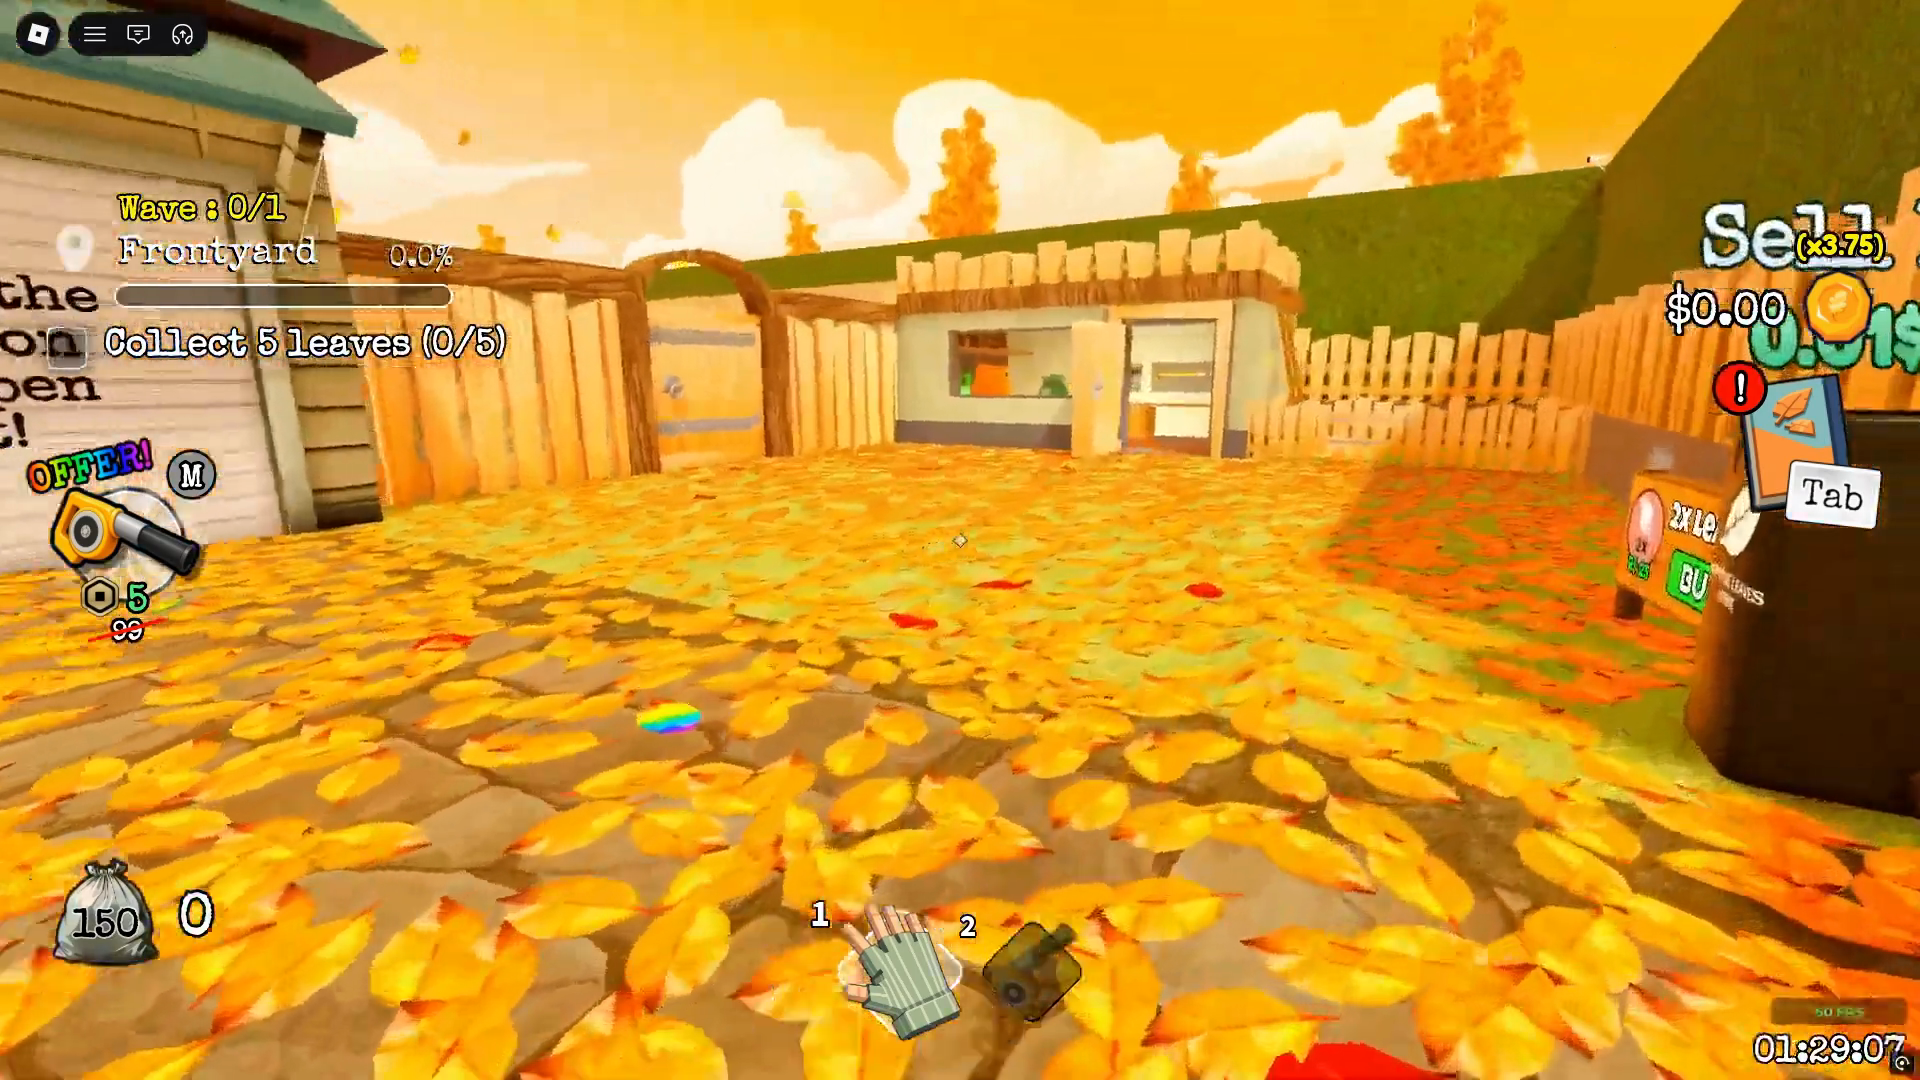
Frontyard starts with the area name, Wave, percentage, and current objective visible together in the HUD. Source: MilkyBloxClear Garage
- Do this
- Inside Garage, move the Leaves toward the marked vents, sell when the bag is full, and continue until the Garage completion message appears.
- You should see
- Garage shows its completion state and the run continues to Porch and the remaining Frontyard work.
- If it fails
- If the Garage is still closed or the correct button is unclear, use the Garage guide before continuing.
Finish Porch and Frontyard
- Do this
- Clear the current Porch and Frontyard waves and complete Buy a tool only when it is visible in the Journal; when Frontyard is complete, continue to Rooftop.
- You should see
- Frontyard reaches its completion state, Rooftop unlocks, and the main objective changes toward Backyard.
- If it fails
- If the percentage stops, confirm the current area name, Wave, bag state, and any visible Journal objective.
Clear Rooftop
- Do this
- Enter Rooftop, clear its current wave with the tools already available to the account, and continue when the Rooftop completion message appears.
- You should see
- Rooftop shows its completion message and the next stable area is Court.
- If it fails
- If the HUD does not say Rooftop, return to the unlocked route and recheck the area boundary before clearing more Leaves.
Use Court to unlock the backyard side
- Do this
- Clear the current Court wave until the Court completion message appears and the backyard-side areas unlock; then follow the live objectives toward Pool, Backyard, Maze, and Farm.
- You should see
- The completion UI names the newly available backyard-side areas and the objective turns toward Farm.
- If it fails
- If Backyard remains inaccessible, confirm Court actually completed; then use the Backyard guide for the entrance and unlock signals.
Follow Backyard, Pool, Maze, and Farm
- Do this
- Follow the live area name and Wave state through Backyard, Pool, Maze, and Farm until Basement unlocks. Use the HUD because individual Leaf piles and return visits can differ between runs.
- You should see
- The Farm-side chain reaches its completion state, Basement unlocks, and the Basement entrance becomes available.
- If it fails
- If progress appears stuck, trust the current area name and Wave. Use the Farm troubleshooting guide only for an unexpected state.
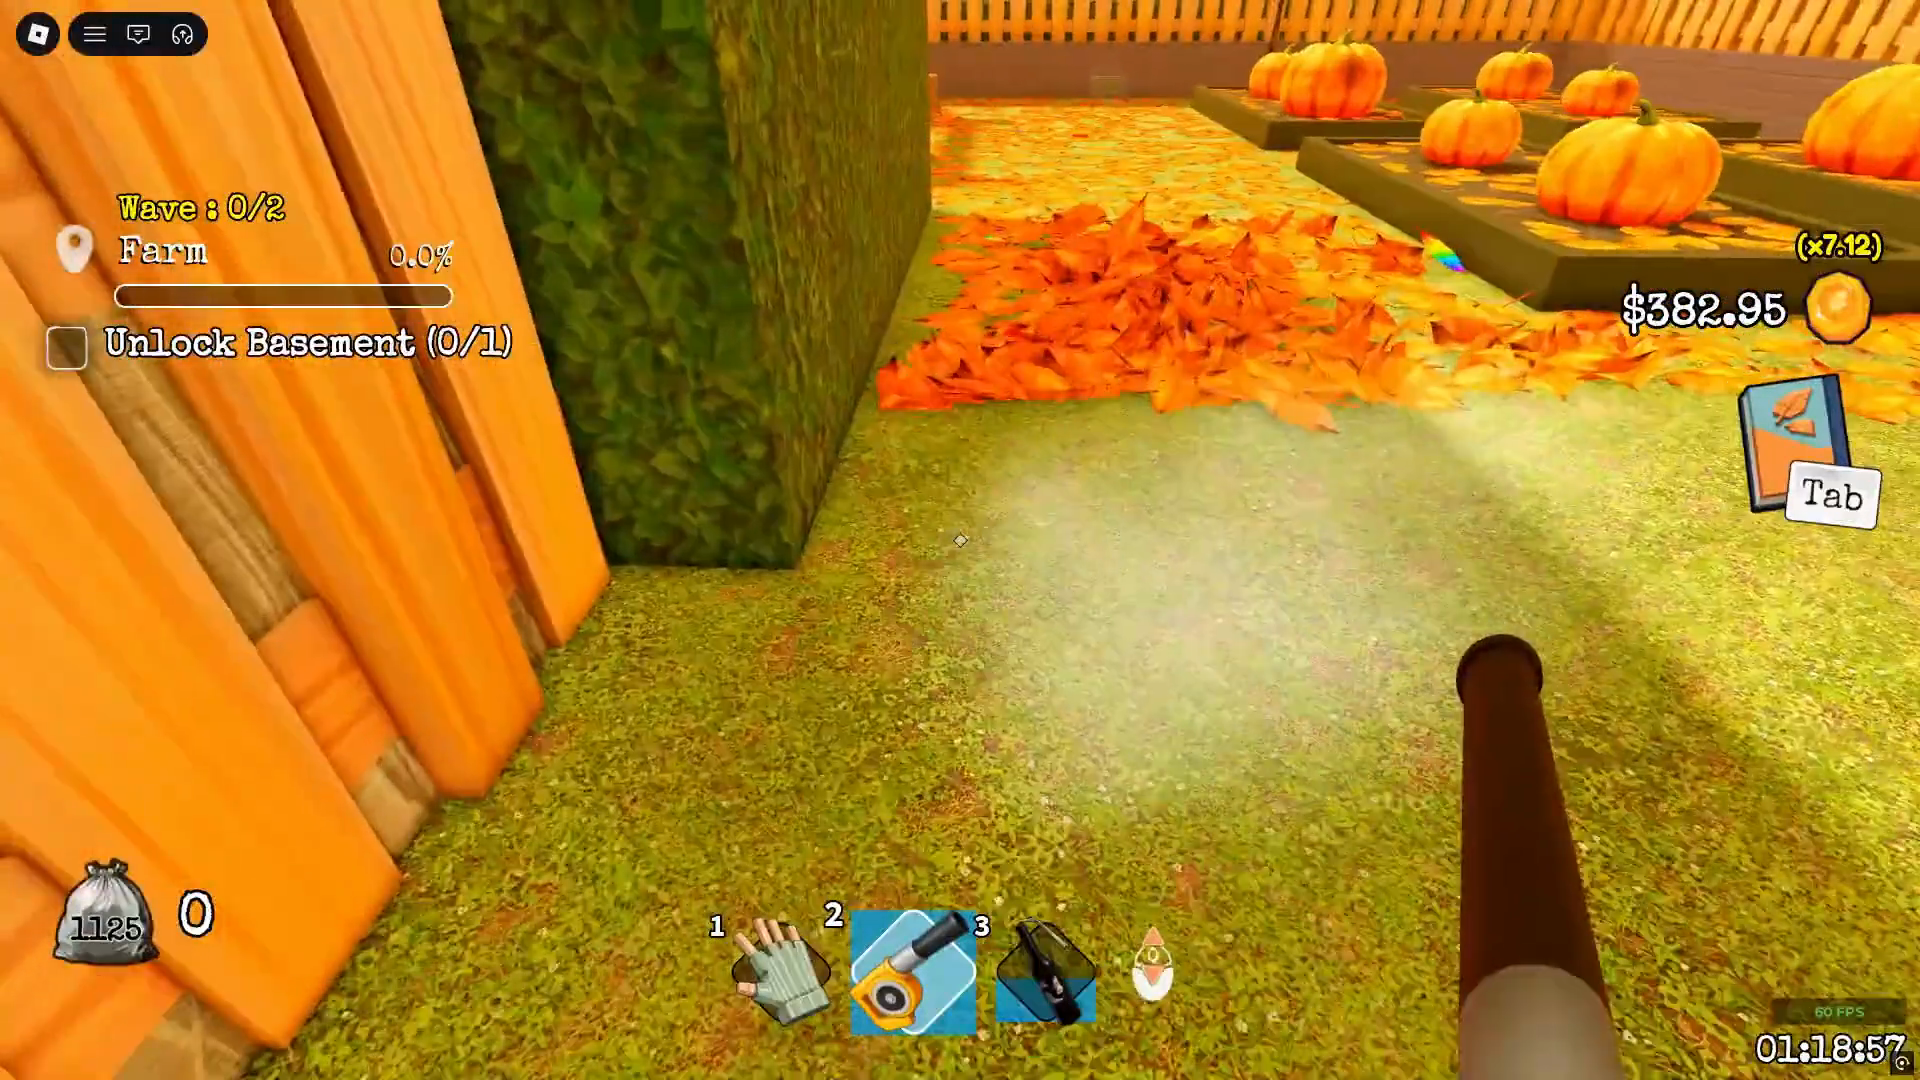
At Farm, keep following the live Wave and objective until Unlock Basement completes. Source: MilkyBloxFinish Basement waves
- Do this
- Clear the Basement waves until Basement reaches its completion state. Keep following the Basement progress because a visible side objective is not itself the final clear signal.
- You should see
- Basement reaches its final completion state and opens the transition into the ending-related sequence.
- If it fails
- If the area does not advance, check the remaining Wave and percentage before treating a visible side quest as a required clear condition.
Wait for ROUND CLEARED!
- Do this
- After Basement reaches its final wave and 100.0%, enter the newly available vent or duct, continue through the narrative boundary, and wait for the green ROUND CLEARED! result before marking the round complete.
- You should see
- The result page displays ROUND CLEARED!, which is the final confirmation for this run.
- If it fails
- Do not stop at one area's 100%, a checked side quest, or the ending scene alone. Wait for the result page.
Watch the complete route
Prefer to follow the House run on video?
This complete Easy solo run follows the route from Frontyard through the final result.
Need a local fix?
Switch to the guide for that exact obstacle.
The main route stays short; these pages handle the area-specific details.